While KeePass is generally used for storing credentials, it can also be used to store SSH keys as well as serve those SSH keys when applications need it.
Intro
It’s a good idea to use SSH keys when connecting to remote servers rather than username/passwords. It’s also a good practice to generate a keypair for each server you connect to - including when performing remote git operations.
Over time though, the number of keys you need to manage and remember can grow. There are various ways to solve this, including SSH .config files. KeePass is another way to go about this; by using KeePass and the KeeAgent plugin, we can use the KeePass database as a container for our keys and have it serve when needed. This has the advantage that the SSH keys are synced with the KeePass database.
Install things
KeePass
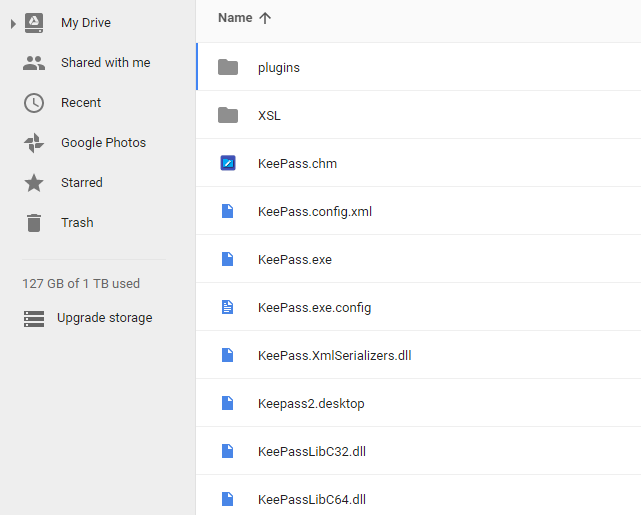
Ensure KeePass2 Professional Edition is installed. You may want to consider using the portable edition, and syncing the entire KeePass installation along with your .kdbx across your machines. For example, you could have the KeePass installation in your Google Drive, which includes config file and a plugins folder. This way, your settings and plugins will carry across machines, reducing the setup required.
Git Bash
Git Bash isn’t just the git command as most people use it, it’s actually a collection of very useful and familiar utilities such as grep, vi, awk, cut, but most importantly ssh and scp. Have a look at C:\Program Files\Git\usr\bin to get an idea of what you can use.

When installing Git Bash, I’d recommend the options for using Git from the Windows Command Prompt, and line endings being ‘as is’.
KeeAgent
Install KeeAgent - it’s a simple matter of placing the KeeAgent.plgx file in the KeePass plugins folder.
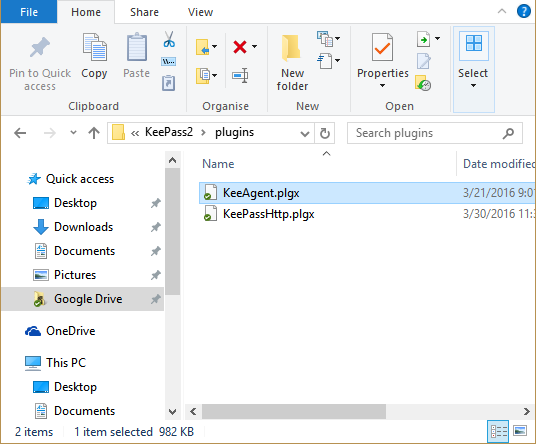
You will need to reopen KeePass for the plugin to appear.
Add keys to your remote Git account
A common use case for SSH is accessing your Github or Bitbucket account over ssh instead of http.
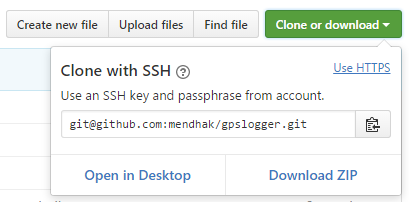
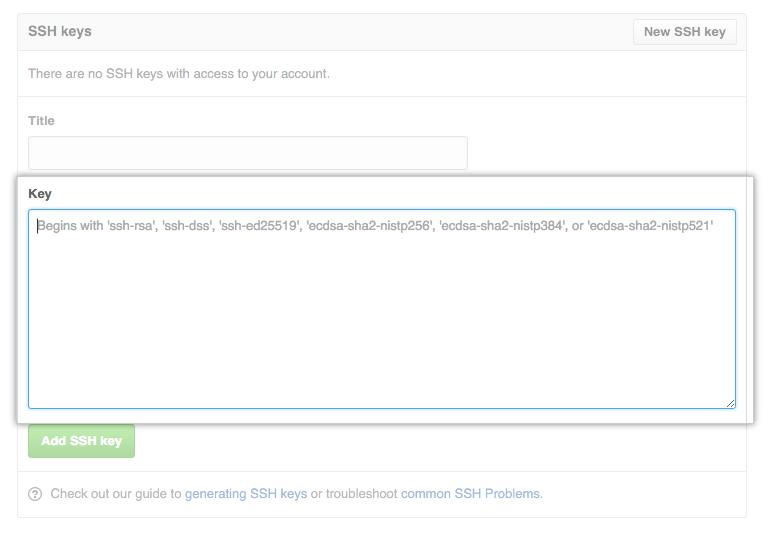
As a prerequisite, add your public key to your account.
Store your keys
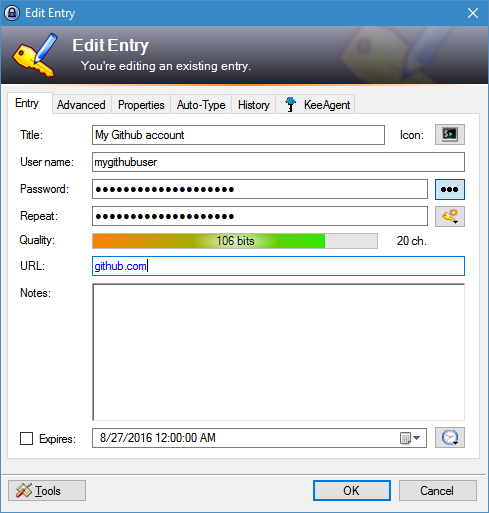
Continuing with the Github example, create a new entry to hold the key. If the private key has a password on it, enter it in the password field.
Now for the keys. Click on the Advanced tab and choose to attach files.
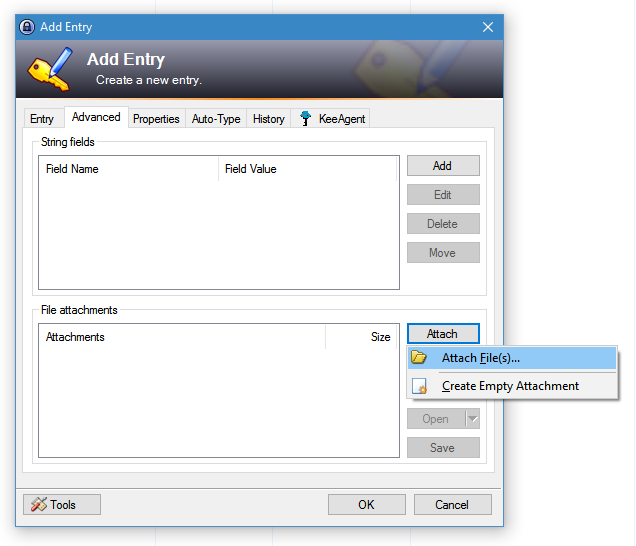
Find your SSH keypair for your remote server and attach them

Load your key with KeeAgent
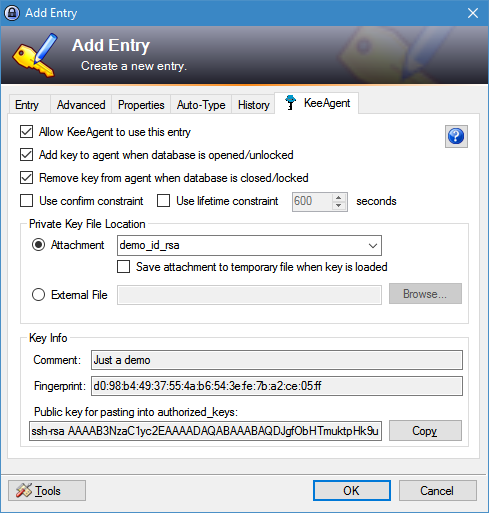
Click on the KeeAgent tab. Check the Allow KeeAgent to use this entry option. From the Attachment option, choose the private key that you attached just a while ago.
You should see the Key Info section populate with some information about your keys.
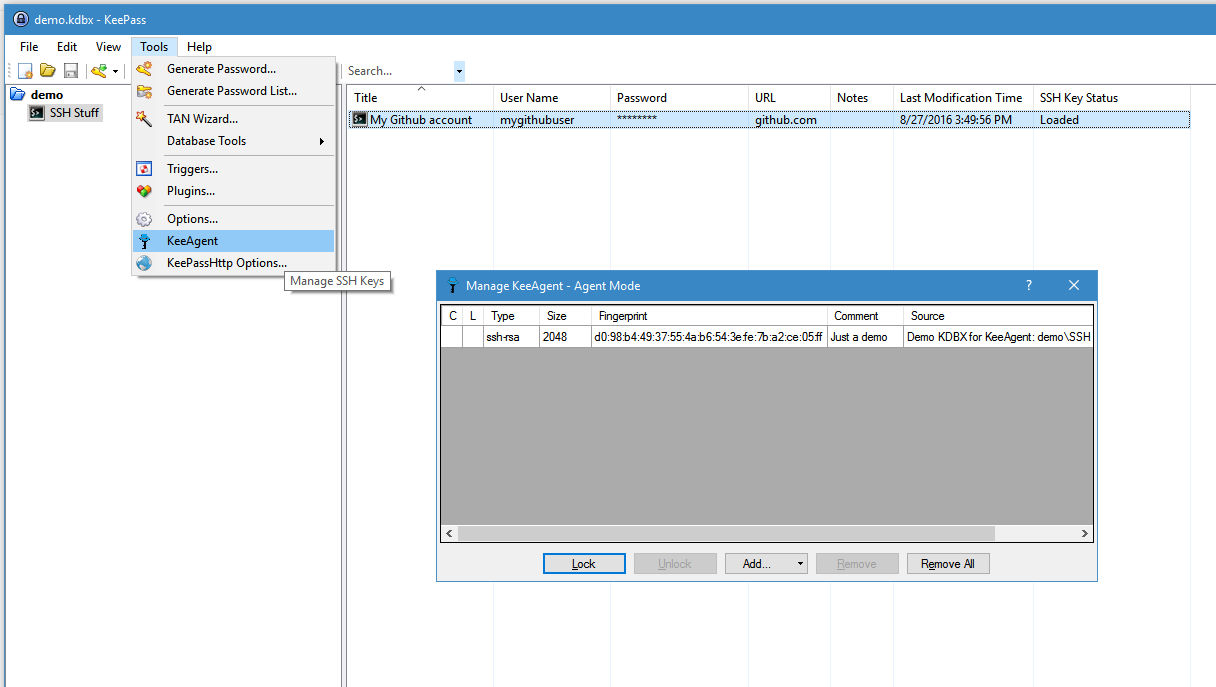
At this point KeeAgent knows about your key but hasn’t loaded it. For the key to be loaded, either reopen the KeePass database, or double click on the SSH Key Status column to change the status from Not Loaded to Loaded

Another way to check which keys are loaded is by Tools > KeeAgent
Tell Git Bash to use KeeAgent
Although KeeAgent is now ready to serve the keys, Git Bash needs to be told about it. If you open Git Bash now and try a quick test, you should get an error.
$ ssh -T [email protected]
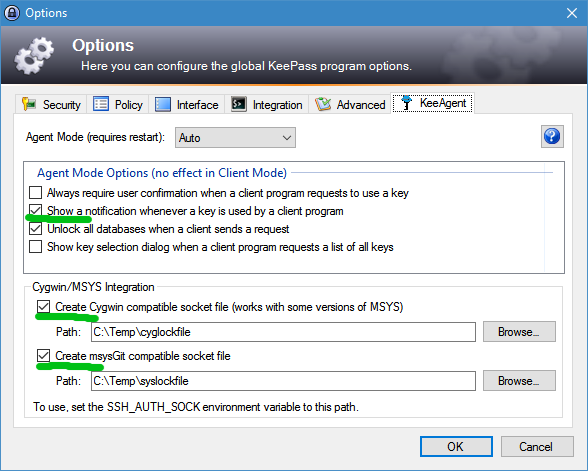
Permission denied (publickey).Go back to KeePass, and click Tools > Options… and then click the KeeAgent tab. Choose to Show a notification…, and more importantly check the boxes in the Cygwin/MSYS Integration area. Add a path such as C:\Temp\cyglockfile and C:\Temp\syslockfile or any arbitrary file name you want. This will create socket files, which is a Unix concept - it allows applications to talk to each other through a file. In this case, Git Bash will communicate with KeePass through one of these two socket files.
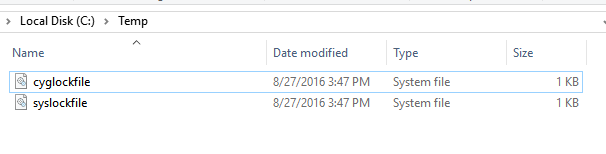
Again, close and reopen KeePass, then head over to C:\Temp or whichever path you specified. You should see your socket files there.
Using your text editor, or even vi in Git Bash, edit/create the ~/.bash_profile file. This would correspond to C:\users\username\.bash_profile
vi ~/.bash_profileAdd the following line to it - it will set the SSH_AUTH_SOCK environment variable, pointing at the socket file. This is what Git Bash needs to know.
export SSH_AUTH_SOCK="C:\Temp\cyglockfile"Close and reopen Git Bash. Then try your test again. If it works, you should see a message from Github, and a notification that a key was used. If it doesn’t work, try again with the other file (syslockfile) instead.

Try out a few git commands - git clone (with the non-http URL), git fetch and git push. In each case it should use the key and show you a notification.
Don’t load every key
Back in the load step, we left the Add key to agent when database is opened/unlocked option checked.
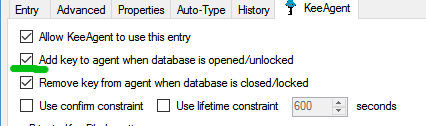
This tells KeeAgent to load this key up whenever this KeePass database is opened. But if you have around 5 or more keys loaded, your authentication may fail. This is because SSH Agents work by trying to use every loaded key until it finds one that works. Many SSH servers don’t like this and will close the connection if it sees around 5 or more attempts.
You should only check the above option for frequent use keys, and a Git server key is a good example.
For occasional use keys, you can double click the SSH Key Status column to load them only when you’re about to use it, and even unload a few others.