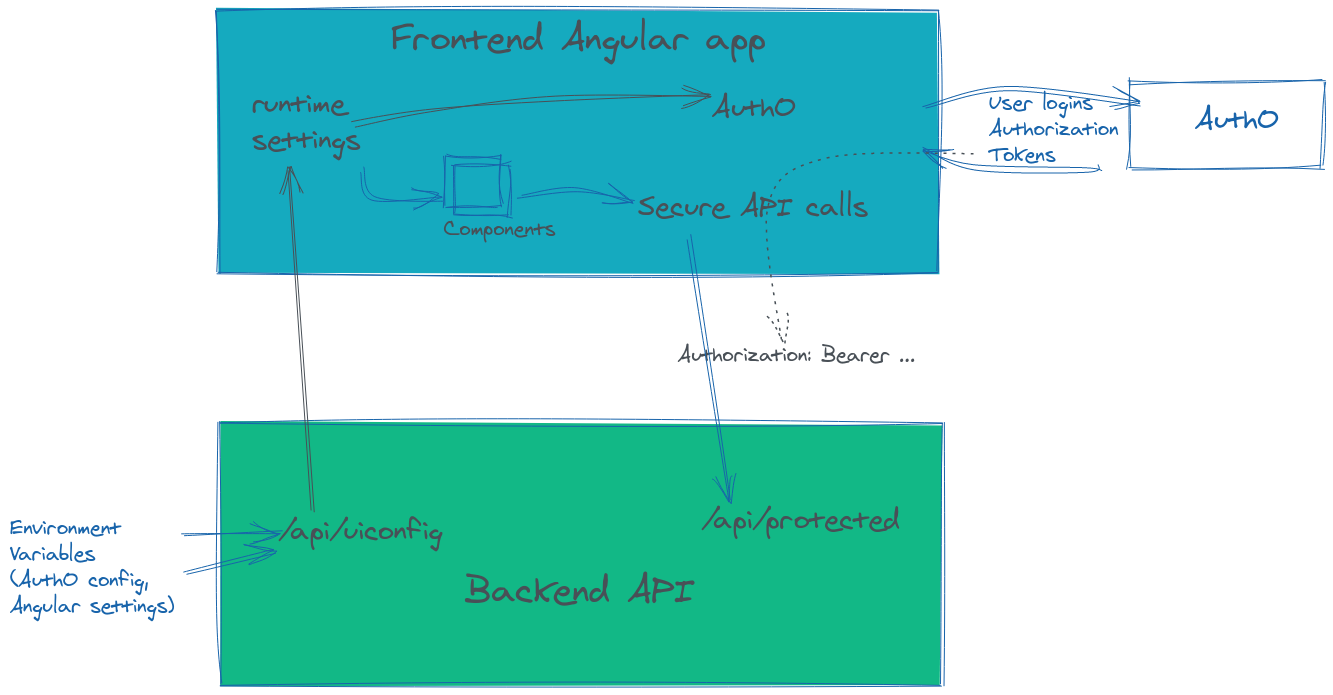
How to set up an Angular application. Secured with Auth0 logins and protected API requests. With the configuration loaded dynamically via a web request.
When setting up a new Angular project, one of the first things you should do is set up its security integration and load application configuration dynamically from a web request.
Setting up the login and protecting API calls with OAuth up front is useful because they are non-trivial tasks, which makes it much less painful in the beginning, as opposed to adjusting the application for it later.
Loading the frontend configuration from your backend API is useful as it allows building the frontend once and deploying everywhere by removing environment specific settings from the frontend code; since the backend API runs serverside, it can pick up and expose any environment variables as needed to the frontend.
This writeup is accompanied by a sample repo, you can jump straight to it and run it to see the above concepts in action.
Generate a new Angular application
Create a new project directory, then generate the frontend Angular application using the ng cli, remember to use npx
mkdir myproject
cd myproject
npx -p @angular/cli ng --style=scss --routing=true --skipGit=true new frontend
Run it, and browse http://localhost:4200/, to make sure it’s working as expected.
npm --prefix frontend start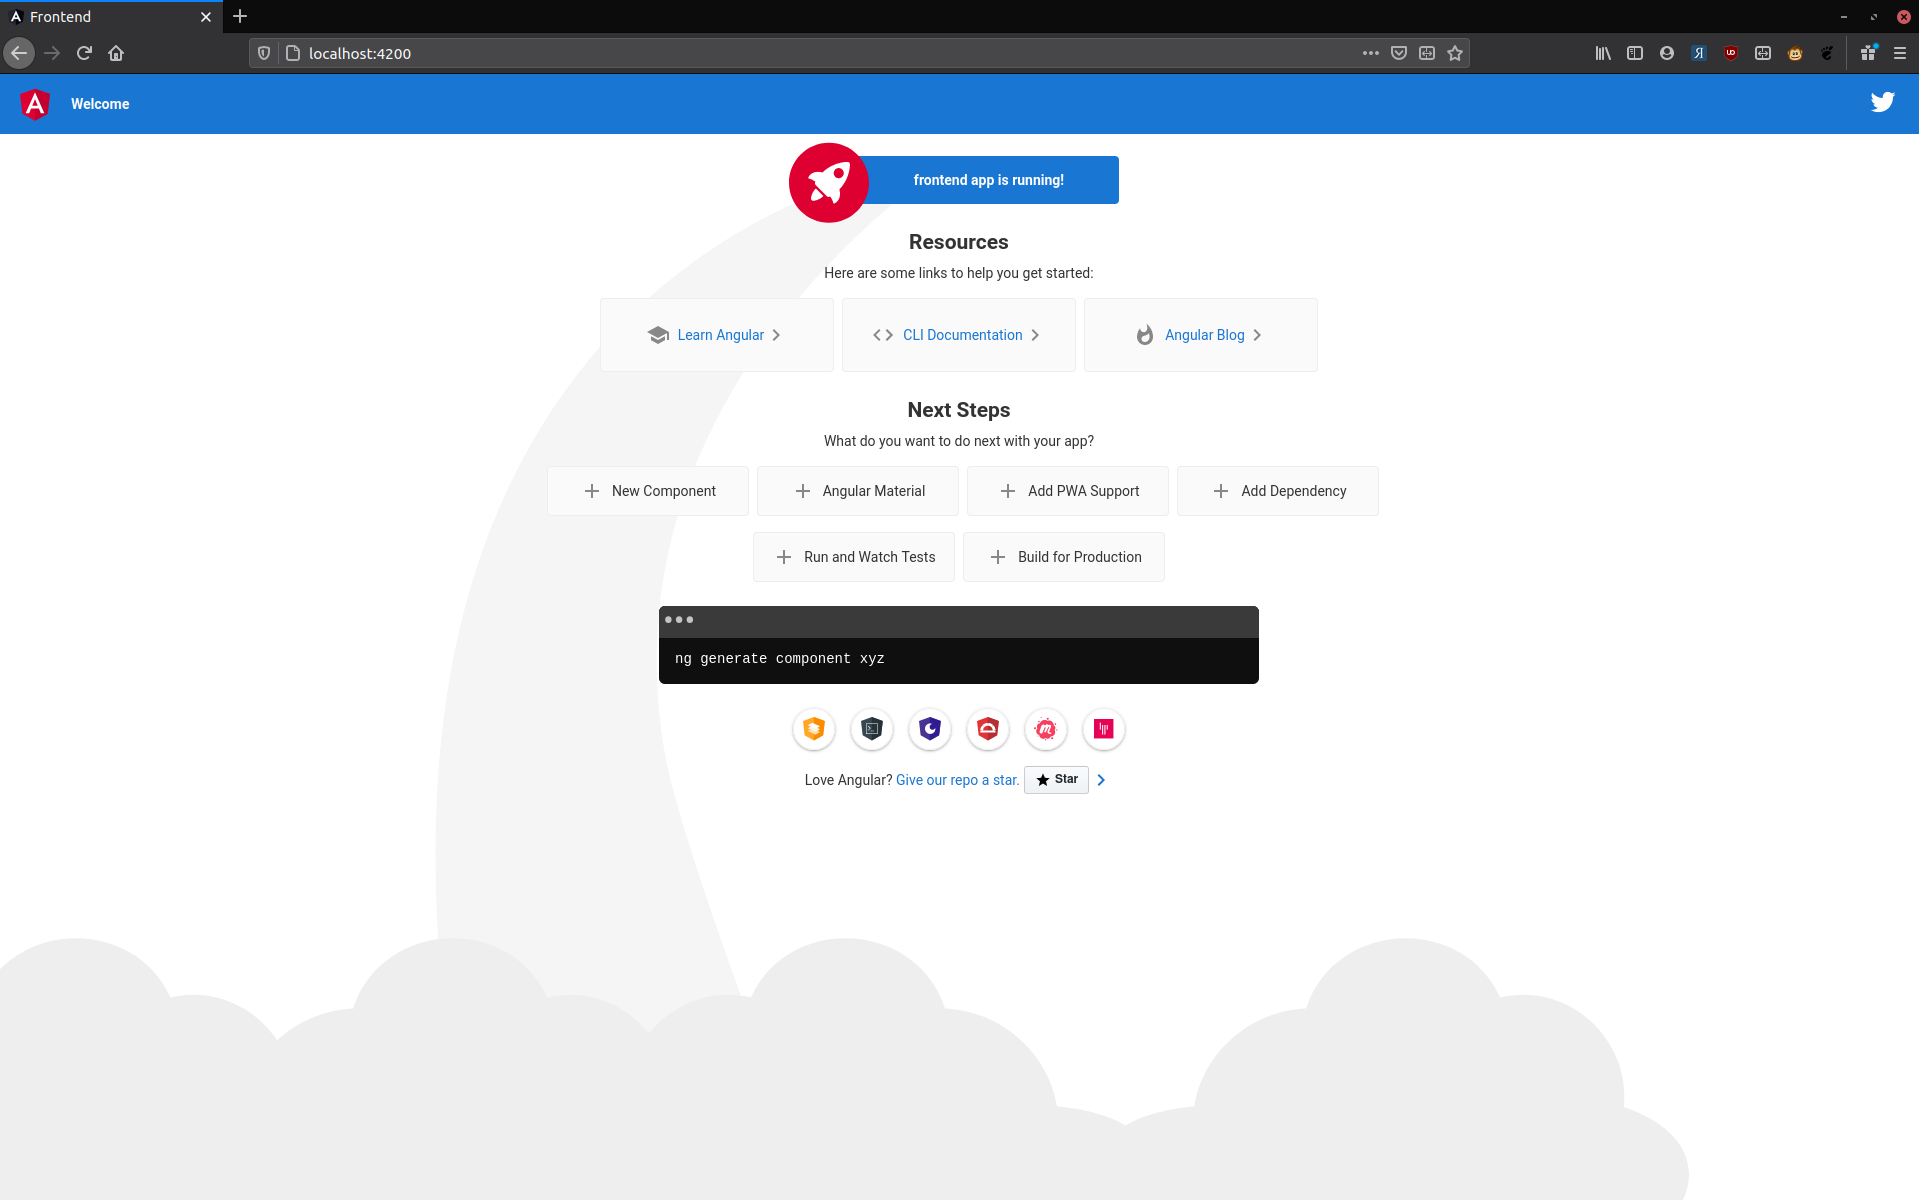
Auth0.com Application Setup
If you haven’t already, sign up for a free Auth0.com account and create a tenant. For this example I have created mydemotenant.
In the tenant’s Applications settings, create a new application of type Single Page Application. This application will represent your Angular application.
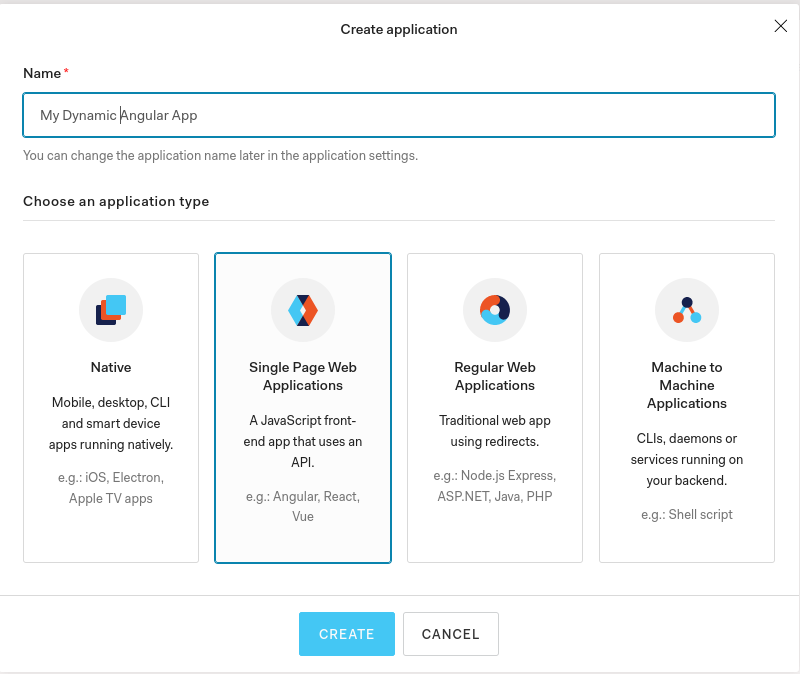
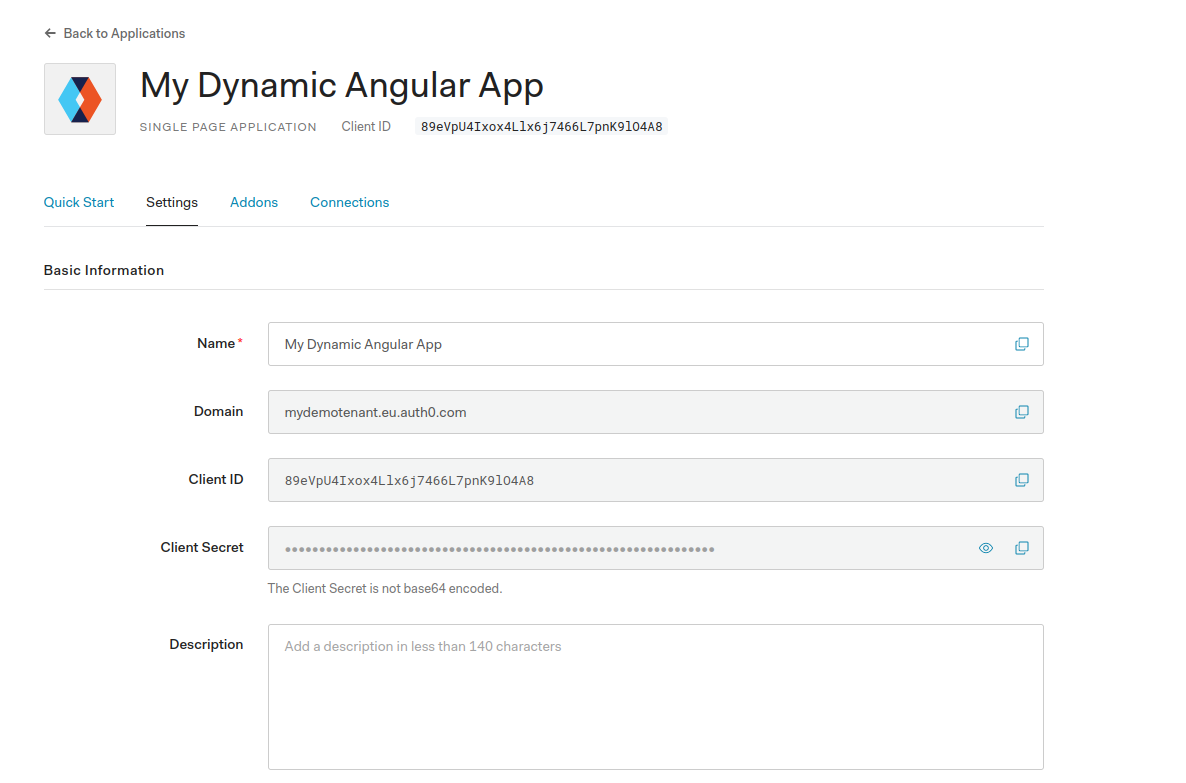
Auth0 generates a Client ID for you which you will need shortly.
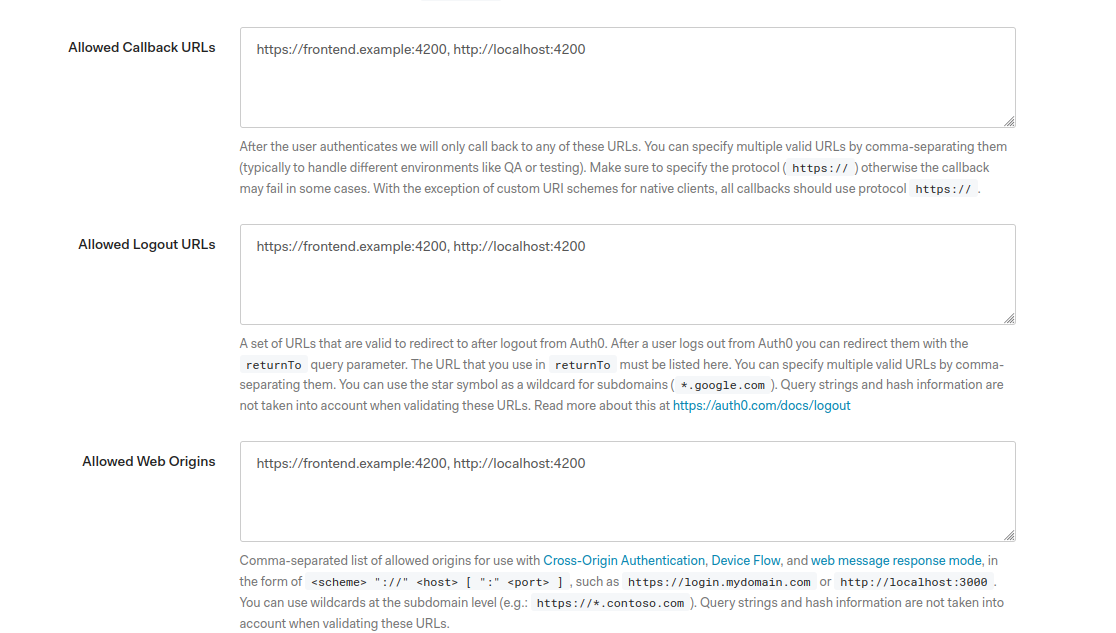
You’ll also need to tell Auth0 where your application’s requests will be coming from. On the application page, add http://localhost:4200 to the Allowed Callback URLs, Logout URLs and Web Origins, then click Save Changes.

Angular integration with Auth0
Now configure the Angular application to interact with Auth0. Auth0 provides a convenience library, auth0-angular which takes care of a lot of integration aspects for you.
Integrating will require installing the library, configuring the library in the Angular module, then calling its login/logout methods. Start by installing the library:
npm --prefix frontend install @auth0/auth0-angularNext, in app.module.ts, import the library.
import { AuthModule } from '@auth0/auth0-angular';In the imports: section, add a line for AuthModule, substituting your Domain and ClientId from above. This will be made dynamic later (you should use different tenants for testing and production), but hardcoded for now.
AuthModule.forRoot({
    domain: 'mydemotenant.eu.auth0.com',
    clientId: '89eVpU4Ixox4Llx6j7466L7pnK9lO4A8',
}),
Logging in and out
In app.component.ts, import the AuthService.
import { AuthService } from '@auth0/auth0-angular';Inject AuthService in the constructor, and set up the login and logout methods.
constructor(public auth: AuthService) {}
loginWithRedirect(): void {
this.auth.loginWithRedirect();
}
logout(): void {
this.auth.logout({ returnTo: window.location.origin });
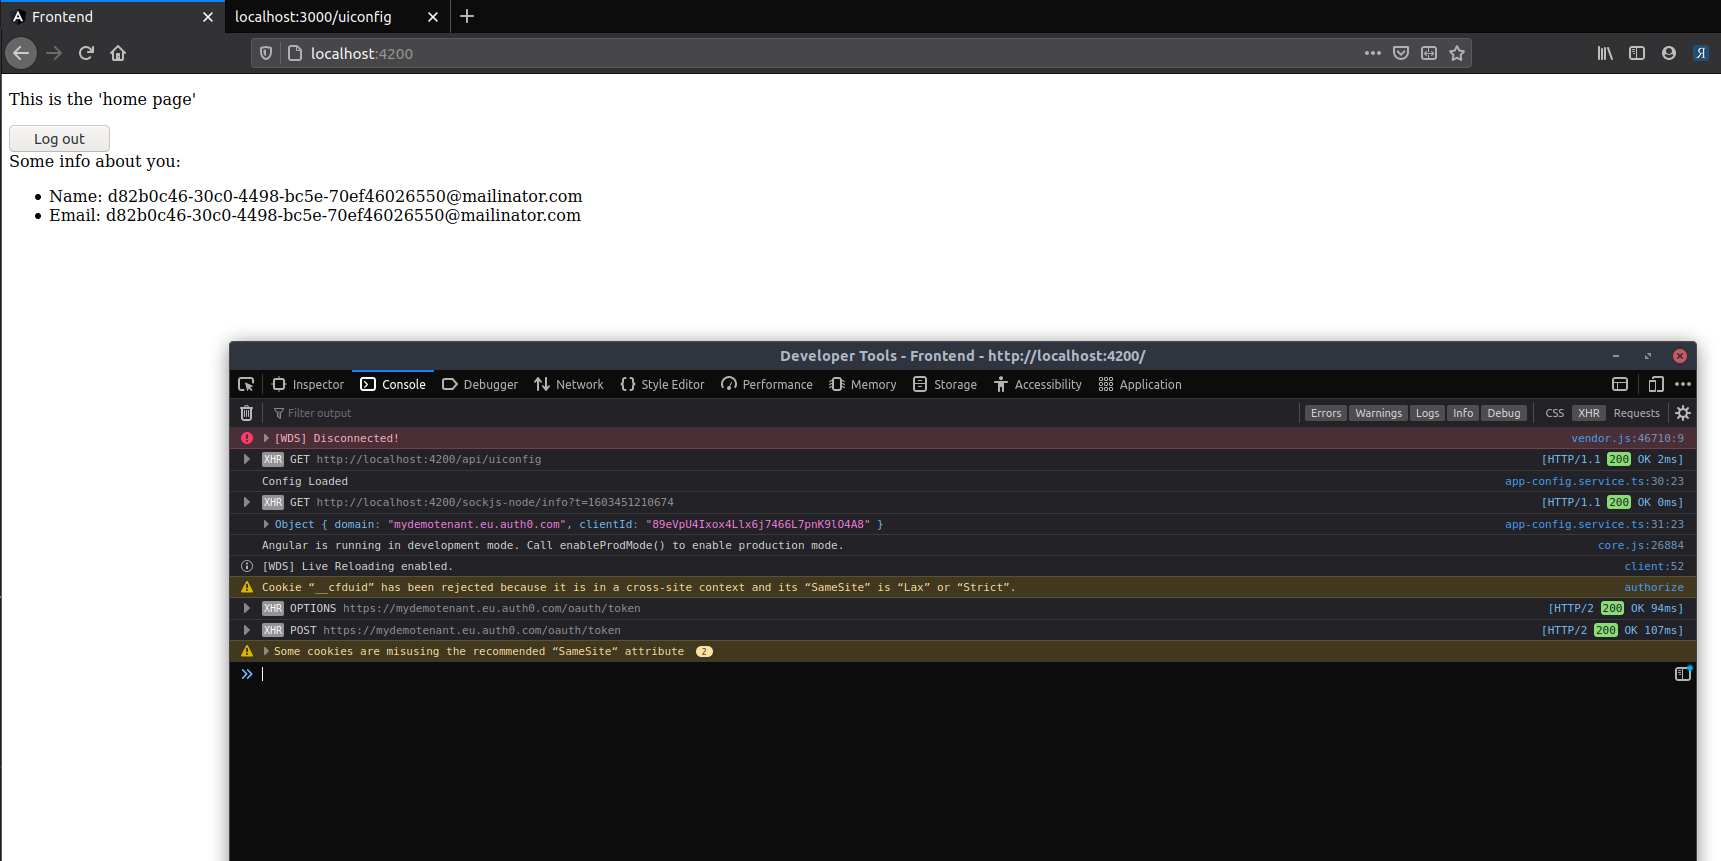
}In app.component.html, delete everything except the <router-outlet></router-outlet>. Then add a bit of code which logs the user in/out, and display some info about the user.
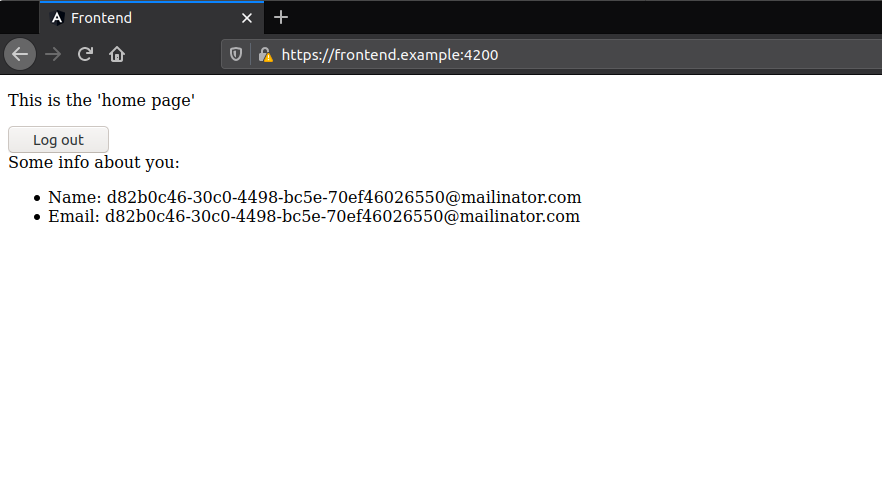
<p>This is the 'home page'</p>

<button *ngIf="(auth.isAuthenticated$ | async) === false"  (click)="loginWithRedirect()">
  Log in
</button>

<button *ngIf="auth.isAuthenticated$ | async" (click)="logout()">
  Log out
</button>

<div *ngIf="auth.user$ | async as user">
Some info about you:
    <ul *ngIf="auth.user$ | async as user" >
    <li>Name: {{ user.name }}</li>
    <li>Email: {{ user.email }}</li>
    </ul>
</div>
Reload the page and click the Login button. If everything is configured correctly, you are redirected to mydemotenant on Auth0 where you can login/signup and come back to the application.
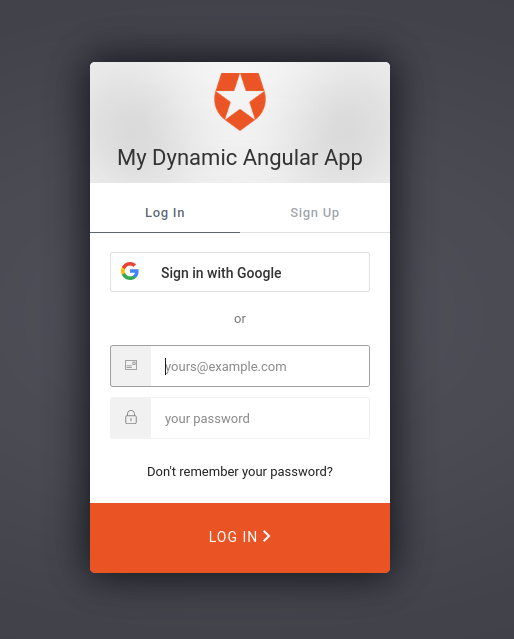
On return to the application the email you signed up with is displayed on the page.
Moving frontend configuration to the backend
Instead of hardcoding the domain and clientId in the Angular app.module.ts, these values should be supplied at runtime. This is because you should use a different tenant for local development, testing and production. If you leave the values hardcoded you would need to build the application for each environment that you deploy to (a major shortcoming of all SPA frameworks). It is possible to get Angular to load the Auth0 configuration, along with any other settings you’d want, from a backend API server.
Create the Backend API
Start by generating a Node Express API. In a new terminal window,
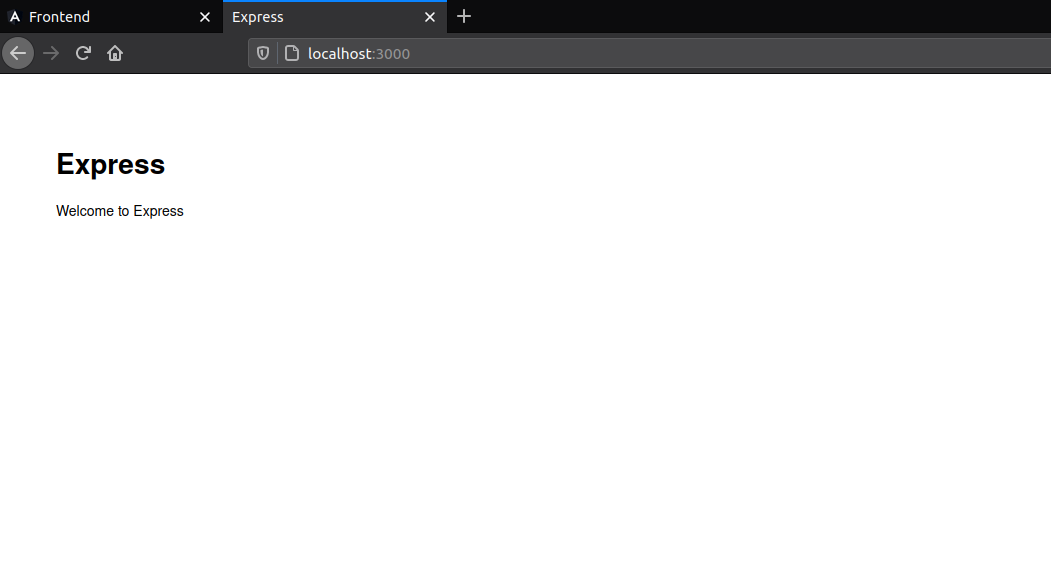
npx express-generator apiThis creates a folder called api with a basic Express project in it. Install its dependencies and start it up.
npm --prefix api install
npm --prefix api start
Once it’s done, browse to http://localhost:3000 to make sure it’s working as expected.
Create an endpoint for frontend settings
In the Express app’s index.js, add a new /uiconfig endpoint, which will return settings to the frontend.
router.get('/uiconfig', function(req, res, next) {
res.send({
domain: 'mydemotenant.eu.auth0.com',
clientId: '89eVpU4Ixox4Llx6j7466L7pnK9lO4A8',
});
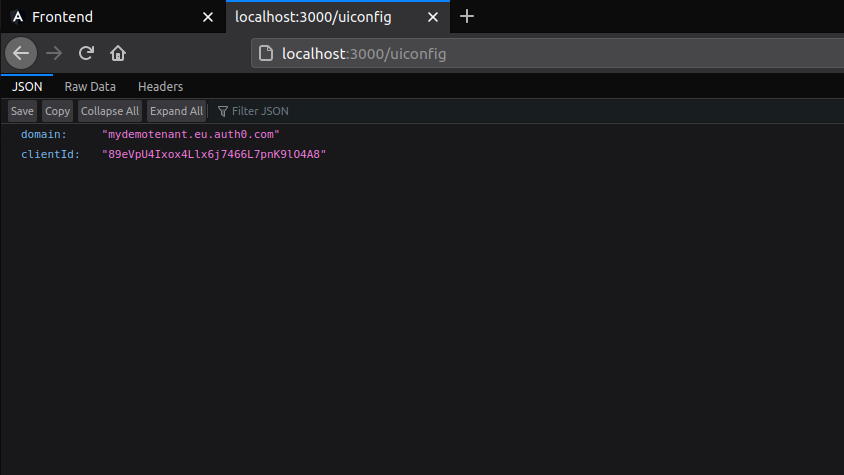
});In a real application scenario, you would load the domain, clientId, and various other settings from environment variables.
Restart the Express app, then browse to http://localhost:3000/uiconfig. You should see a JSON response with the Auth0 configuration settings.
Loading Angular configuration from a backend API call
Now that the Express API is serving values for the frontend on its /uiconfig endpoint, there’s work to do on the Angular side to read it and load it.
Proxy calls to the Express API
Because the frontend and backend are currently on different domains (localhost:4000 and localhost:3000) you will have to start dealing with CORS issues. It’s actually easier to just get Angular to proxy all calls to the Express APIs (localhost:3000) as a path on the frontend. In other words, we can get all /api calls from the frontend code to request http://localhost:3000 behind the scenes. This does away with cross domain issues.
In the frontend folder, open angular.json and search for the "serve":" section. Add a proxyConfig line under serve > options.
        "serve": {
            ...
          "options": {
            ...
            "proxyConfig": "./proxy.conf.json"
            ...
          },
Create a proxy.conf.json with this content.
{
    "/api": {
      "target": "http://localhost:3000",
      "secure": false,
      "pathRewrite": {
        "^/api": ""
      },
      "logLevel": "debug"
    }
}
Stop and restart the Angular application.
# Ctrl+C
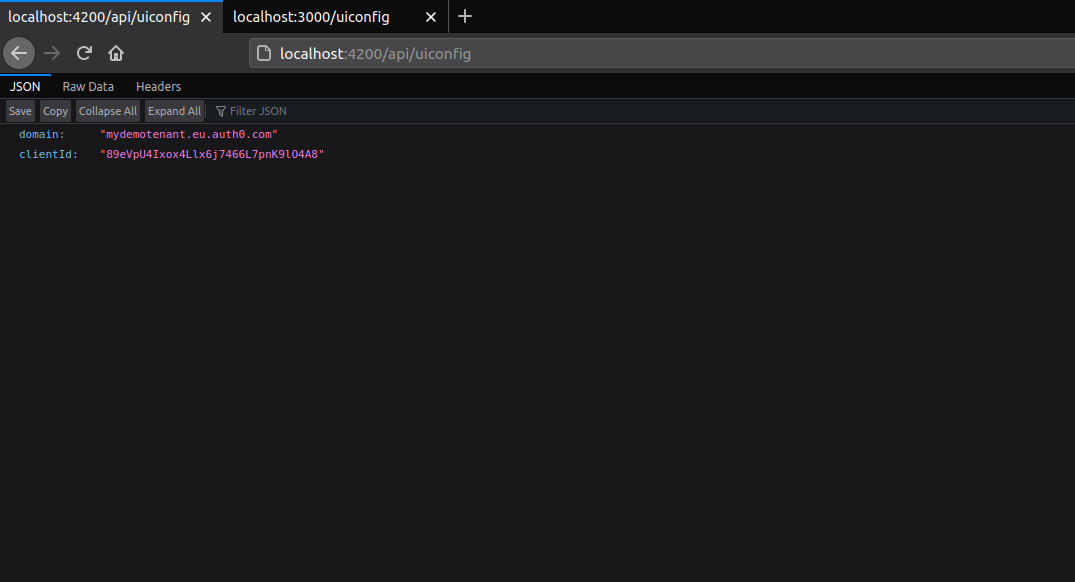
npm --prefix frontend startNow browse to http://localhost:4200/api/uiconfig and it should show the same contents as http://localhost:3000/uiconfig.
Angular loading dynamic configuration
Start by removing the hardcoded values from the AuthModule.forRoot() line. It should just be
AuthModule.forRoot()At the top, import APP_INITIALIZER and the HttpClientModule too
import { NgModule, APP_INITIALIZER } from '@angular/core';
import { HttpClientModule } from '@angular/common/http';
In the providers:[] section, add an APP_INITIALIZER, which will call an AppConfigService (we will create this soon):
 providers: [
    AppConfigService,
    { provide: APP_INITIALIZER,useFactory: initializeApp, deps: [AppConfigService], multi: true}
  ],
The initializeApp should be a normal function just outside the @NgModule.
import { AppConfigService } from './app-config.service';


export function initializeApp(appConfigService: AppConfigService) {
  return (): Promise<any> => {
    return appConfigService.load();
  }
}
Finally create the app-config.service.ts which will do the real work of loading from /api/uiconfig. This AppConfigService has a special purpose. It is meant not just for Auth0 configuration, but for any settings that need to be available to any of our Angular application components. The idea is that just by importing this service, an Angular component can access its properties using AppConfigService.settings.someSettingName. Here are the contents of app-config.service.ts:
import { Injectable }  from '@angular/core';
import { HttpClient, HttpBackend } from '@angular/common/http';
import { AuthClientConfig, AuthConfig, AuthConfigService } from '@auth0/auth0-angular';

@Injectable()
export class AppConfigService {
    static settings: IAppConfig;
    httpClient: HttpClient;
    handler: HttpBackend;
    authClientConfig: AuthClientConfig;

    constructor(private http: HttpClient, handler: HttpBackend, authClientConfig: AuthClientConfig) {
        this.httpClient = http;
        this.handler = handler;
        this.authClientConfig = authClientConfig;
    }

    load() {

        const jsonFile = `/api/uiconfig`;
        return new Promise<void>((resolve, reject) => {
            this.httpClient = new HttpClient(this.handler);
            this.httpClient.get(jsonFile).toPromise().then((response : IAppConfig) => {
               AppConfigService.settings = <IAppConfig>response;

               this.authClientConfig.set({
                clientId: AppConfigService.settings.clientId, domain: AppConfigService.settings.domain
                });

               console.log('Config Loaded');
               console.log( AppConfigService.settings);
               resolve();

            /*}).catch((response: any) => {
               reject(`Could not load the config file`);*/
            });
        });
    }
}

export interface IAppConfig {
    clientId: string
    domain: string
}
A few things to note about this service
const jsonFile = ...can point at any URL as long as it returns the UI settings that you want in JSON format.- The IAppConfig properties need to match exactly the JSON properties being returned in your HTTP response
- The actual Auth0 library configuration is happening at the
this.authClientConfig.set...line.
Try it
That was a lot of work but now you can reload the page, and this time watch developer tools. You will see a request being made to /api/uiconfig, and the config is printed out to console. The application’s login and logout functionality should work as normal.
Securing API calls
So far everything done has been to secure the application frontend for a user, with login and logout functionality and some user identity information. Securing API calls requires additional steps - the frontend application must request an Access Token on behalf of the user, and pass that along as an Authorization: Bearer header. Here we will create a secure endpoint in Express, and call it from the frontend.
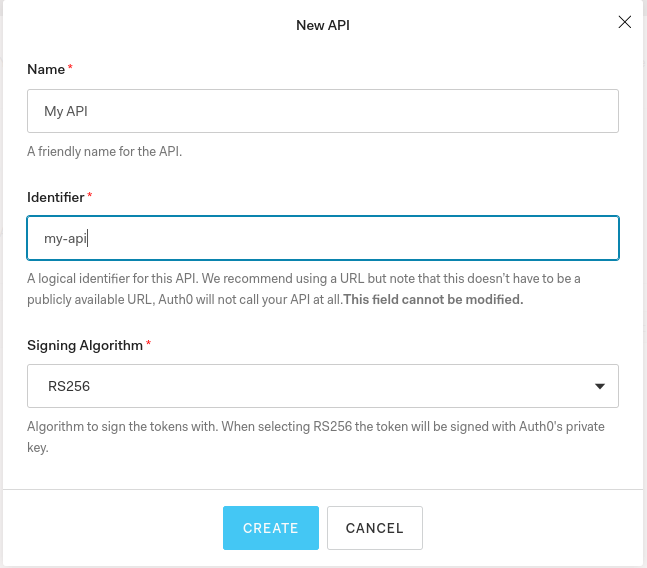
Auth0.com API setup
Back in Auth0.com in your tenant, go to the API section and create a new API, and give it an audience. The audience can be anything, including a URL, but I prefer normal words like my-api.
Express secure endpoint
Stop the Express app, and install some additional libraries.
# Ctrl+C
npm --prefix api install --save express-jwt jwks-rsa express-jwt-authz
In index.js, import the libraries and add a middleware that expects and validates the JSON Web Token in the Authorization header. Substitute the tenant domain and audience for your own.
const jwt = require('express-jwt');
const jwtAuthz = require('express-jwt-authz');
const jwksRsa = require('jwks-rsa');

const checkJwt = jwt({
  secret: jwksRsa.expressJwtSecret({
    cache: true,
    rateLimit: true,
    jwksRequestsPerMinute: 5,
    jwksUri: `https://mydemotenant.eu.auth0.com/.well-known/jwks.json`
  }),

  audience: 'my-api',
  issuer: `https://mydemotenant.eu.auth0.com/`,
  algorithms: ['RS256']
});
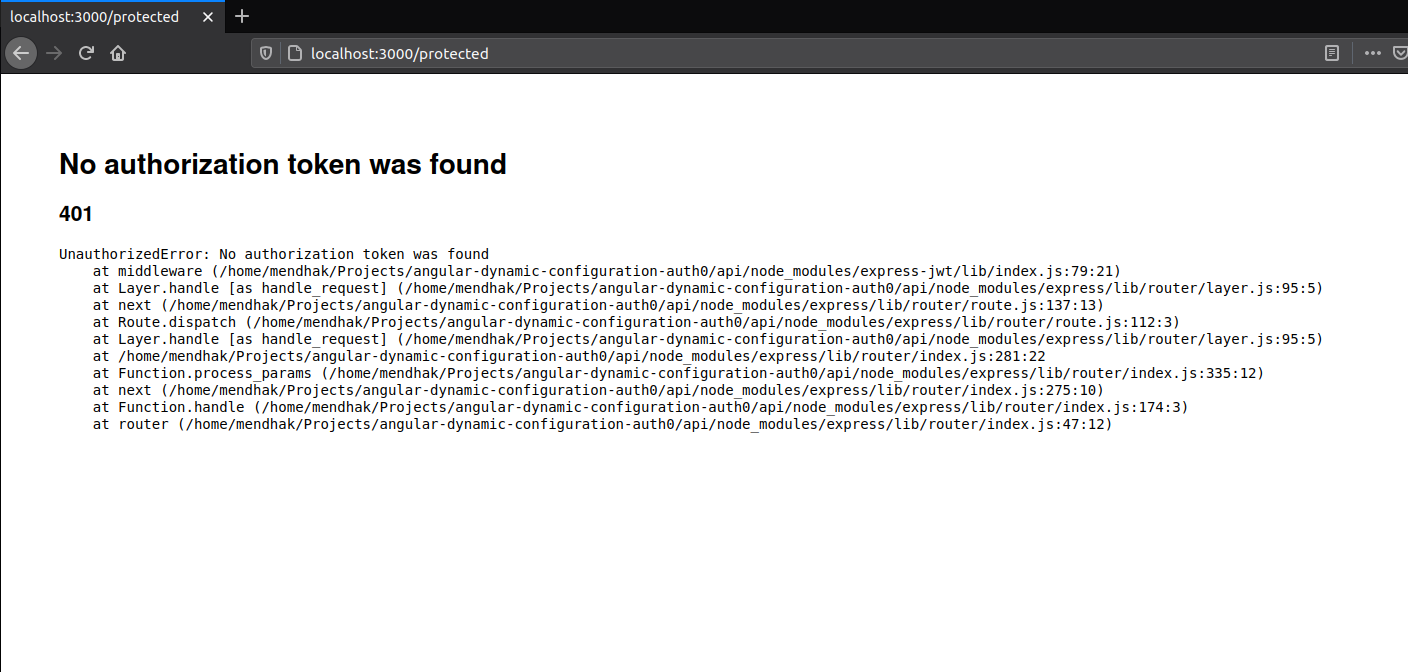
Now create a secure endpoint that uses the above.
router.get('/api/protected', checkJwt, function(req, res) {
  res.json({
    message: 'This is a protected endpoint.'
  });
});
Restart the Express app
npm --prefix api startThen browse to the protected endpoint at http://localhost:3000/protected, you should get an HTTP 401 Unauthorized error, as you haven’t passed any headers in.
Make the frontend a first-party application
The frontend needs to request Access Tokens on behalf of the user, but this needs to be done in a way that isn’t disruptive to the user experience. Auth0 APIs do allow skipping consent, but only for first party applications.
This requires two changes to the frontend application:
- A non
localhostdomain (We’ll go withfrontend.example) - https:// instead of http:// (So that’s
https://frontend.example:4200)
Modify Auth0.com Application URLs
In the Auth0.com tenant settings, modify the application’s callback, login and logout URLs to use https://frontend.example:4200.
Host file
Edit your hosts file and add a mapping.
127.0.0.1 frontend.example
Certificate
Generate a self signed certificate for frontend.example.
openssl req -x509 -newkey rsa:4096 -keyout key.pem -out cert.pem -days 365 -nodes -subj "/C=GB/ST=London/L=London/O=Acme/OU=Org/CN=frontend.example"This generates a certificate and a private key. Modify angular.json to use these. In the same serve > options section where you added a proxy config, add:
"ssl": true,
"sslKey": "../key.pem",
"sslCert": "../cert.pem",
"host": "0.0.0.0",
"disableHostCheck": true,
This allows the Angular application to be served over frontend.example, and uses the generated self signed certificate.
Stop and restar the Angular application.
# Ctrl C
npm --prefix frontend start
Open https://frontend.example:4200/ in the browser. Accept the warning about the self signed certificate. Try out the login and logout functionality, everything should work as before including the dynamic configuration loading.
Configure Auth0 library to secure calls to /api
At last the juicy bit. We now need to get Auth0 to intercept our HTTP requests and add the required Authorization header.
In app.module.ts, import the Angular and Auth0 interceptors.
import { HttpClientModule, HTTP_INTERCEPTORS } from '@angular/common/http';
import { AuthHttpInterceptor } from '@auth0/auth0-angular';
Add the HTTP_INTERCEPTORS to the providers:[...] section, so it should now look like this:
 providers: [
    AppConfigService,
    { provide: HTTP_INTERCEPTORS, useClass: AuthHttpInterceptor, multi: true },
    { provide: APP_INITIALIZER,useFactory: initializeApp, deps: [AppConfigService], multi: true}
  ],
Back in the app-config.service.ts, where the Auth0 Configuration is being set, include the httpInterceptor. The configuration is very simple, you just specify a part of the API URL, and which audience and scopes to use.
In our case, the path is /api/* and the audience is my-api.
this.authClientConfig.set({
    clientId: AppConfigService.settings.clientId, domain: AppConfigService.settings.domain,
    httpInterceptor: { allowedList: [
        {
            uri: "/api/*",
            tokenOptions: {
                audience: "my-api"
            }
        }
    ] }
    });
Make a call to the API
Modify the constructor in app.component.ts and have it call the API with a normal http.get. Our configuration above will take care of intercepting it.
  public secureMessage;

  constructor(public auth: AuthService, private http: HttpClient) {
    this.getSecureMessage();
  }

  getSecureMessage(){
    this.auth.isAuthenticated$.subscribe(isLoggedIn => {
      if(isLoggedIn){
        this.http.get('/api/protected').subscribe(result => this.secureMessage=result);
      }
    });
  }
Don’t forget to import the HttpClient.
import { HttpClient } from '@angular/common/http';Edit the app.component.html and display the message returned from the protected backend in the HTML.
<div *ngIf="secureMessage">{{ secureMessage.message }}</div>
Refresh the frontend page and the message “This is a protected endpoint” appears if you’re logged in.
Refresh once more and watch the network traffic in developer tools. Note that the Auth0 authorize and token exchanges happen twice.
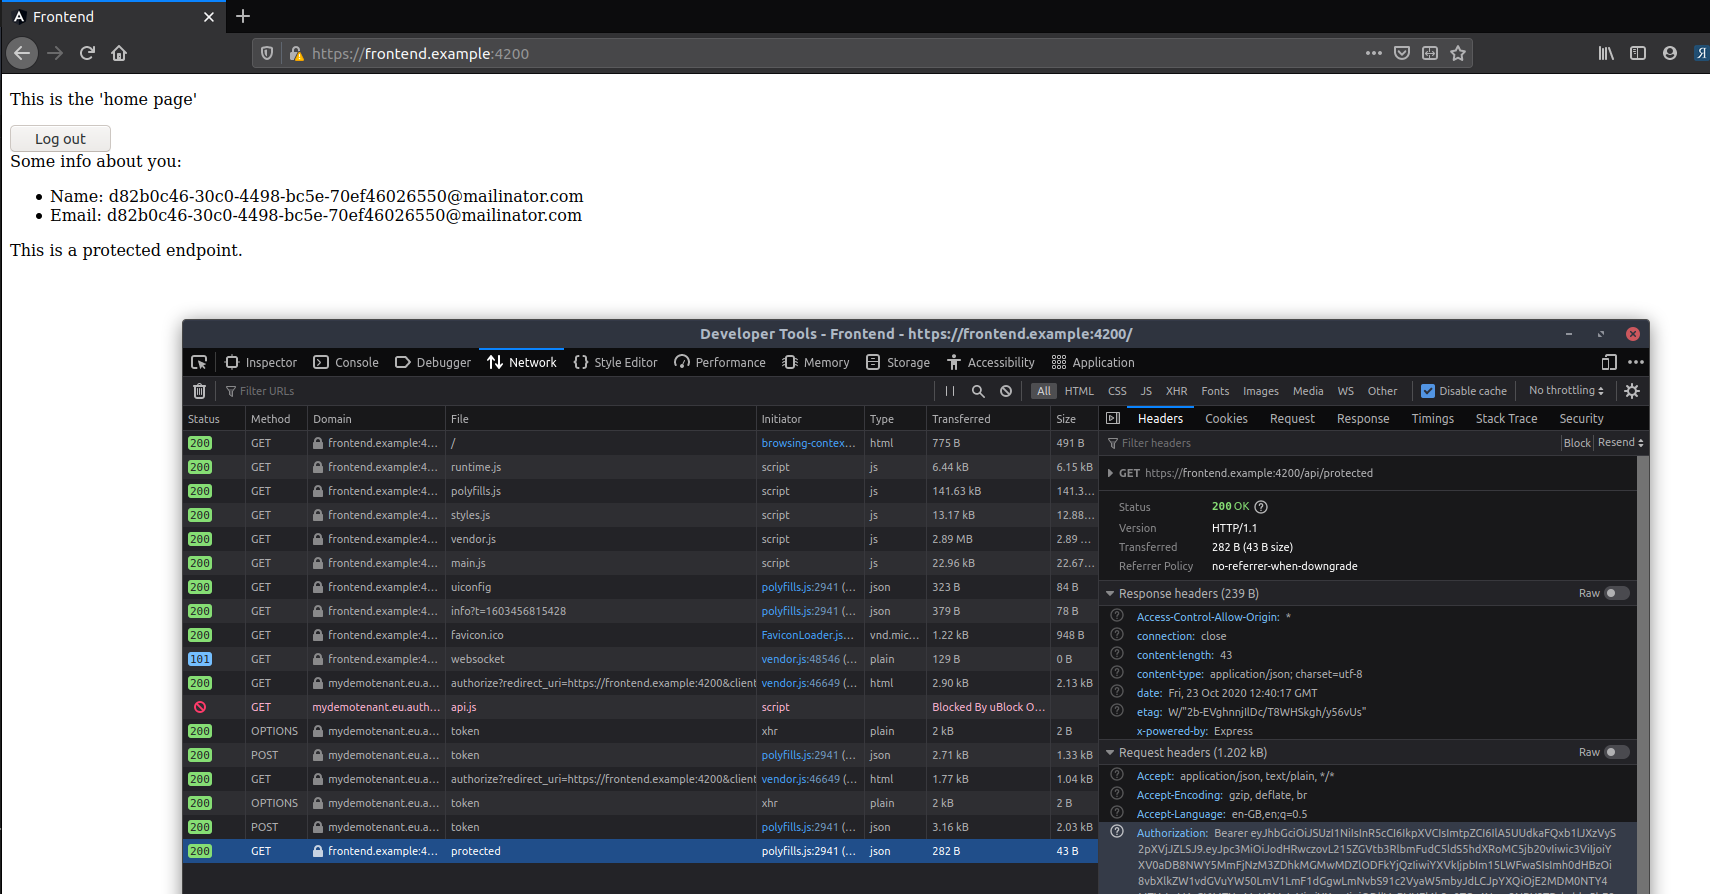
The first exchange is for your normal authentication check (which is how the username and email are displayed). The response contains a JWT ID Token, but an opaque access token which isn’t of much use to us.
The second exchange is when the http.get call is about to be made - the library requests an Access Token with the my-api audience, and a JWT Access Token is in the response.
You can then see the Authorization: Bearer header passing that Access Token along to the protected endpoint which allows access.
Finishing notes
There were a lot of steps involved here and these are all needed early in during Angular + OAuth project setups.
I’ve covered:
- Generating the frontend using ng new
- Integrating with the Auth0 Angular library. Most of the instructions above are from the library’s own documentation
- Generating a backend API in Express (use any backend webserver you prefer, as long as it can intercept and validate JWTs before passing the request to endpoints)
- Proxying requests to the backend API using
/apion the same domain as the frontend - Passing frontend settings from a public endpoint on the backend API
- Dynamically loading settings in the Angular App Initializer, for Auth0 as well as general app settings.
- Protecting a backend API endpoint with an Auth0 Audience
- Converting a normal Angular application into a first party application
- Setting up the Auth0 Angular library to intercept requests and pass Access Tokens with the right audience
- Calling a protected API securely from the frontend
Once this is done, the project can then be used for ‘normal’ development activity in a secure way.