When working with a Raspberry Pi Zero W, as there is no network port, you will need to enable WiFi and SSH as well so that you can connect to it when it first boots.
This is far simpler than the alternative, which is to connect a keyboard and monitor to the Raspberry Pi Zero W to then set up WiFi and SSH. You can simply use your existing setup.
Prepare the SD Card
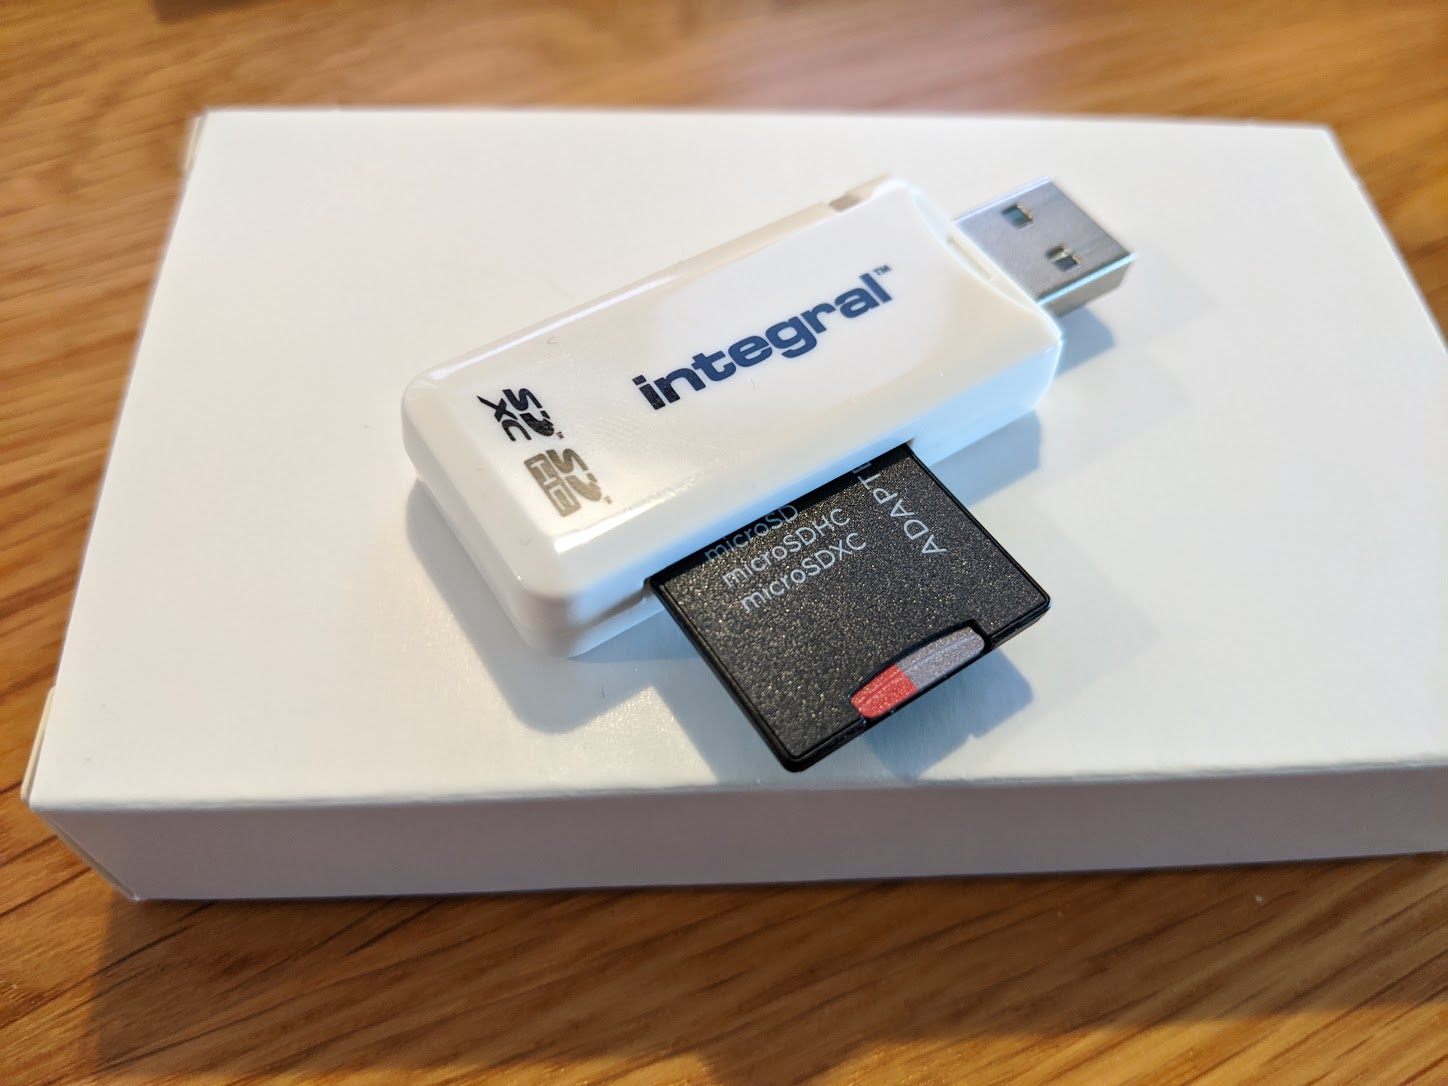
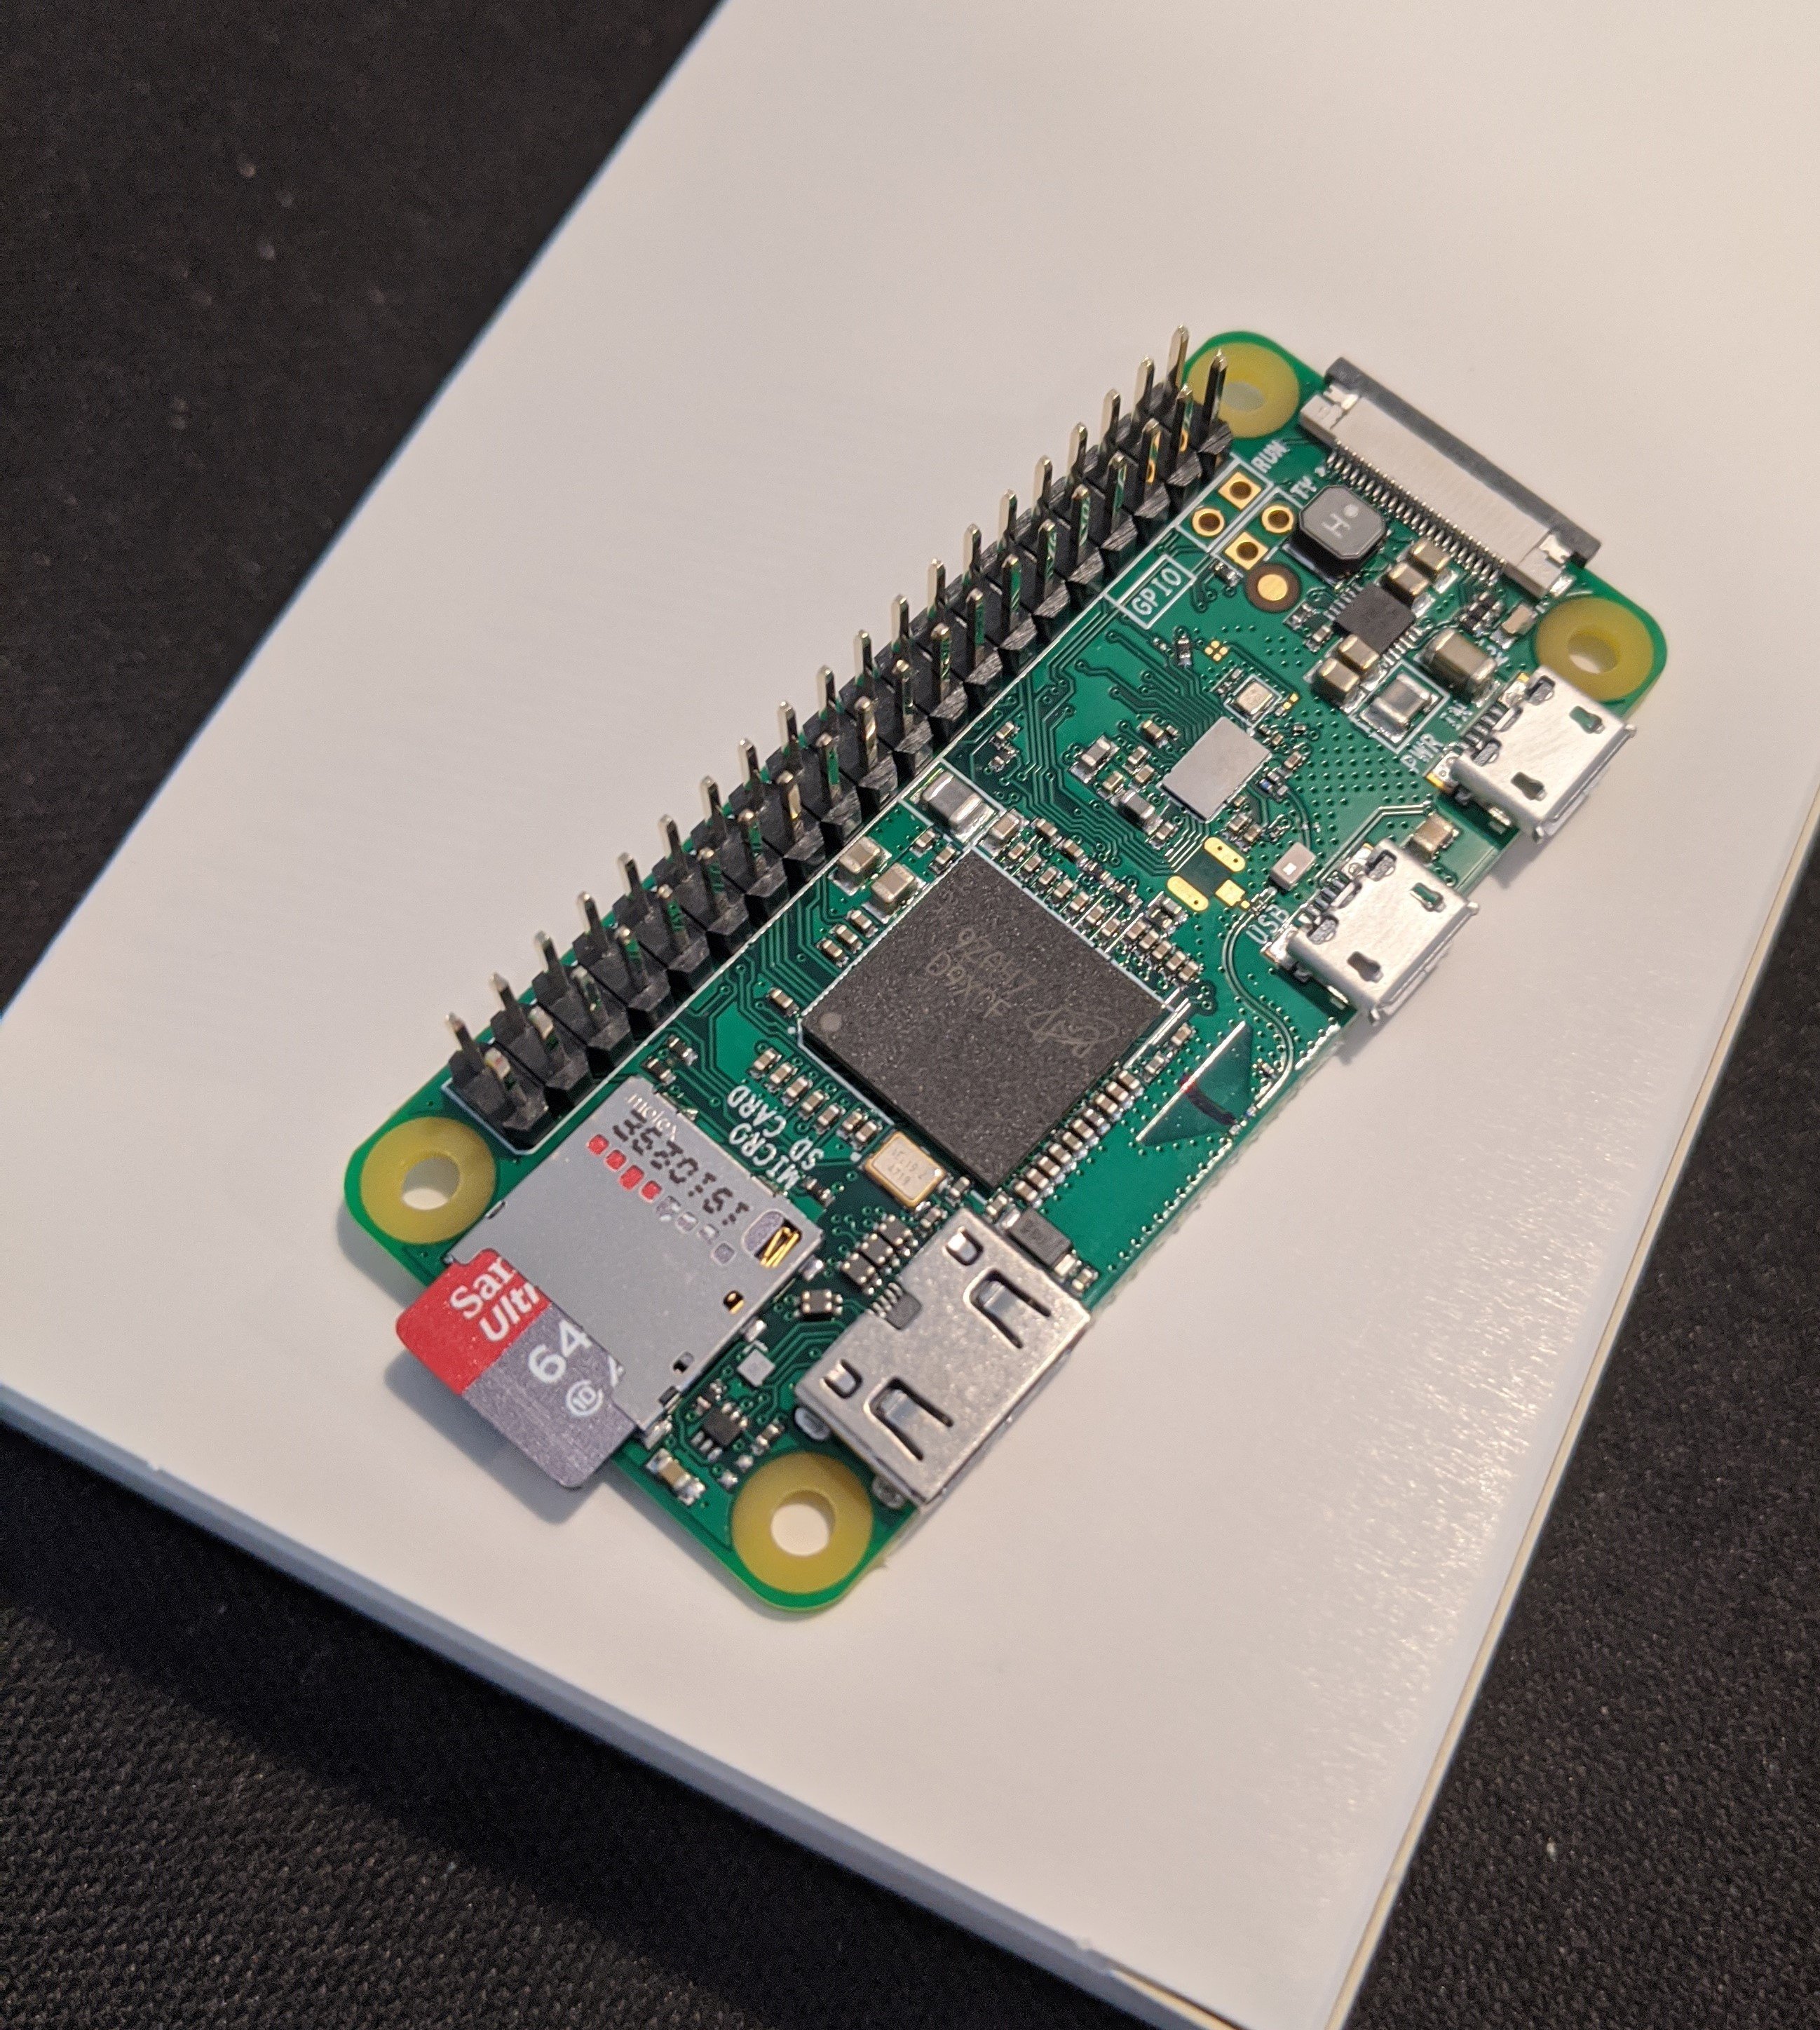
You will need a microSD card and a USB adapter. These are all cheap and plentiful, some examples of adapters are here and here. Plug your microSD card into a USB adapter, then plug it into your computer.
Download OS image
The official image for Raspberry Pi in general is Raspberry Pi OS (formerly Raspbian), which can be downloaded here. If you don’t need a desktop environment, download the Lite version. Not having a desktop environment frees up valuable memory and CPU.
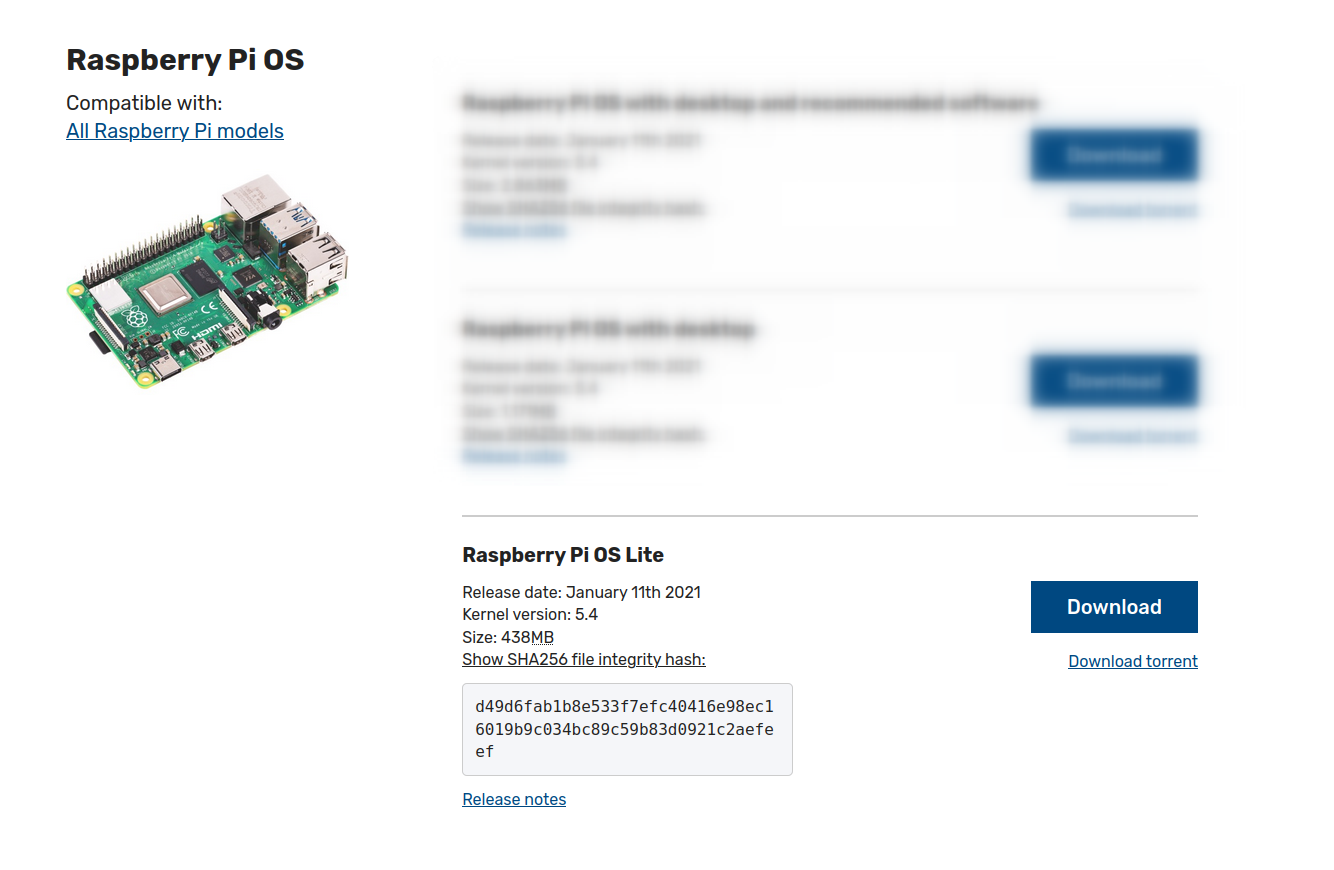
Optionally, you can download and verify the checksum too.
$ wget -O raspios.zip https://downloads.raspberrypi.org/raspios_lite_armhf_latest
$ sha256sum raspios.zip
d49d6fab1b8e533f7efc40416e98ec16019b9c034bc89c59b83d0921c2aefeef  raspios.zip
Flash the SD Card
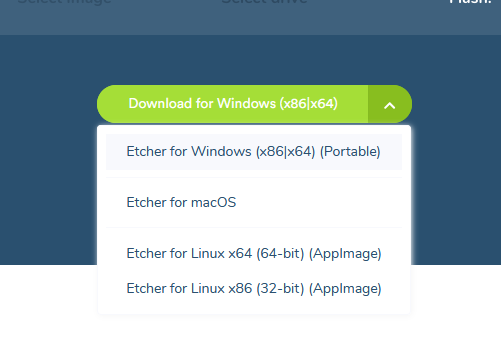
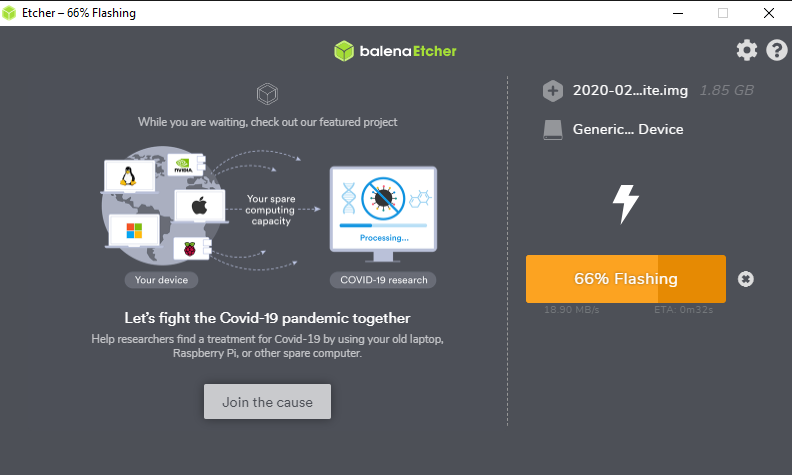
Download Balena Etcher, choose the portable version from the dropdown.
Launch Etcher, then select the zip file that you just downloaded, and choose the USB device carefully.
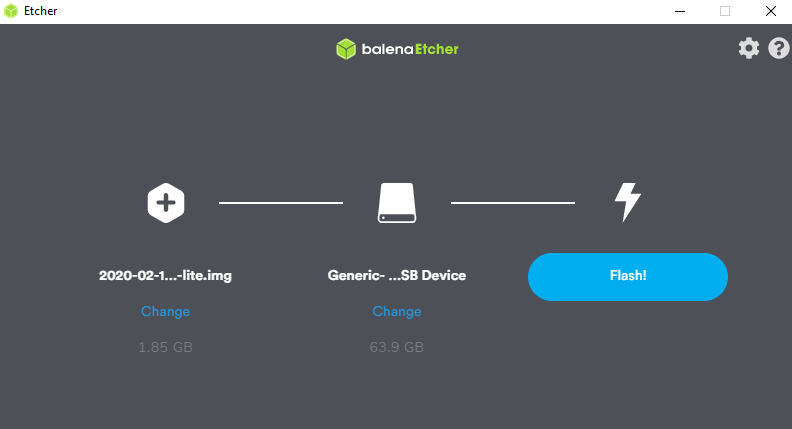
Click Flash and the image should get written to the SD card shortly.
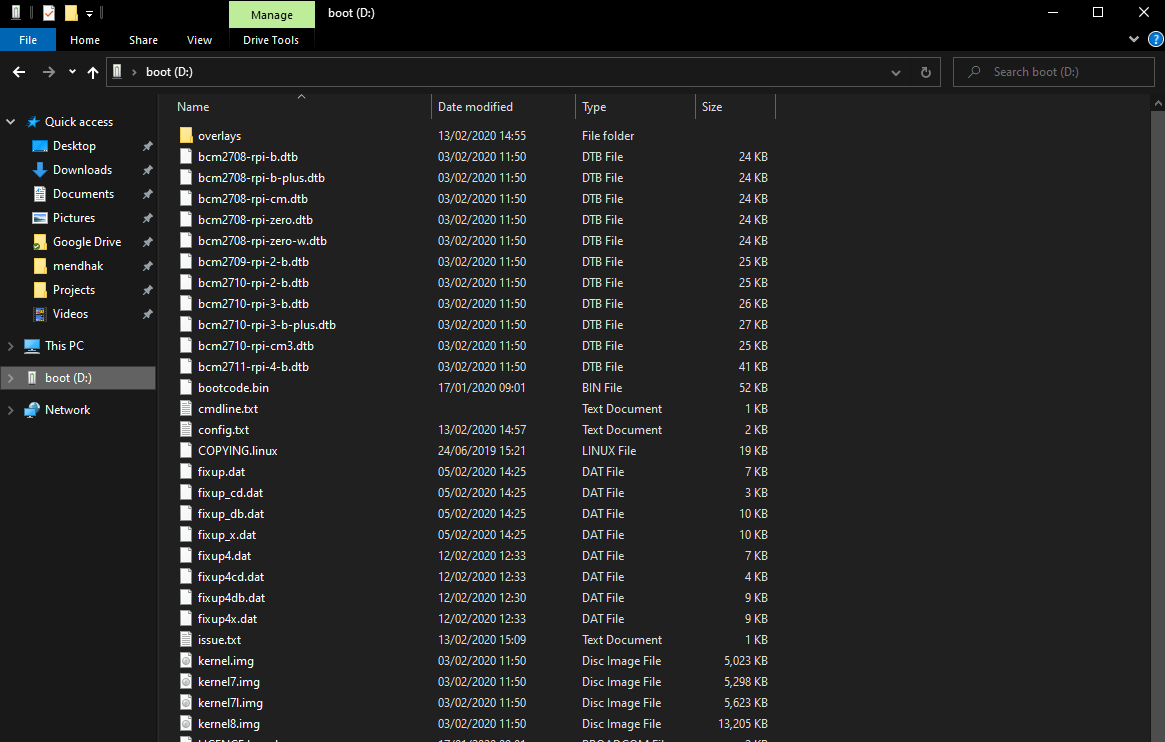
Configure the OS
Once flashing is complete, unplug and replug the USB adapter. The drive should now appear in Windows (it appeared as D:\ for me) filled with OS files for the Raspberry Pi.
You now need to allow the Raspberry Pi Zero W to connect to your network and allow yourself to connect to it.
Enable SSH
Raspbian disables SSH by default. To enable it, create an empty file in this drive, called ssh.
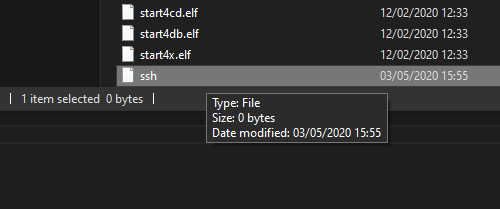
Just the presence of this empty file on disk is enough for Raspbian to enable SSH when you power up the Raspberry Pi later.
Enable WiFi
You will need to tell Raspbian how to connect to your WiFi.
Create a file called wpa_supplicant.conf in the same boot drive. Paste these contents in there, and replace the country, SSID and PSK values.
ctrl_interface=DIR=/var/run/wpa_supplicant GROUP=netdev
update_config=1
country=GB

network={
     ssid="your_network_name"
     psk="your_wifi_password"
     key_mgmt=WPA-PSK
}
Run the Raspberry Pi Zero W
Plug the SD Card into the Raspberry Pi Zero W. Connect a micro-USB cable and power up the Pi. You can use the official Raspberry Pi power supply (~2.5A) or a USB port that supplies adequate power (~1.2A).
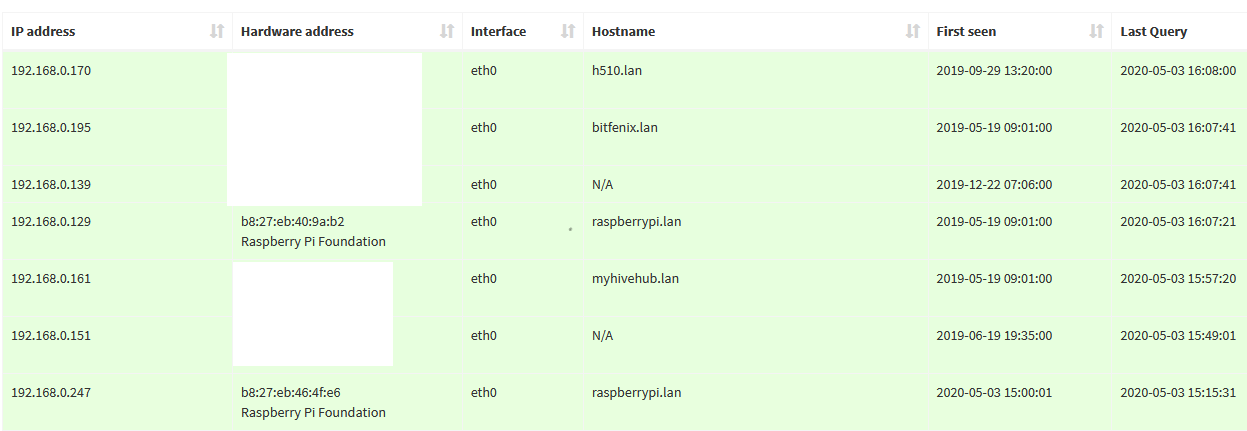
Wait a few minutes, then have a look at the list of connected devices on your router’s admin pages and find its IP address. If you’re having trouble figuring it out, pick one, start pinging it, and disconnect your most recent Pi to see if that’s the right IP.
Once you have the right IP, ssh to it with the default password of raspberry
$ ssh [email protected]
[email protected]'s password:
You’re now connected to the Raspberry Pi.
Change password
As a best practice, run sudo raspi-config and follow the prompts to change your password.
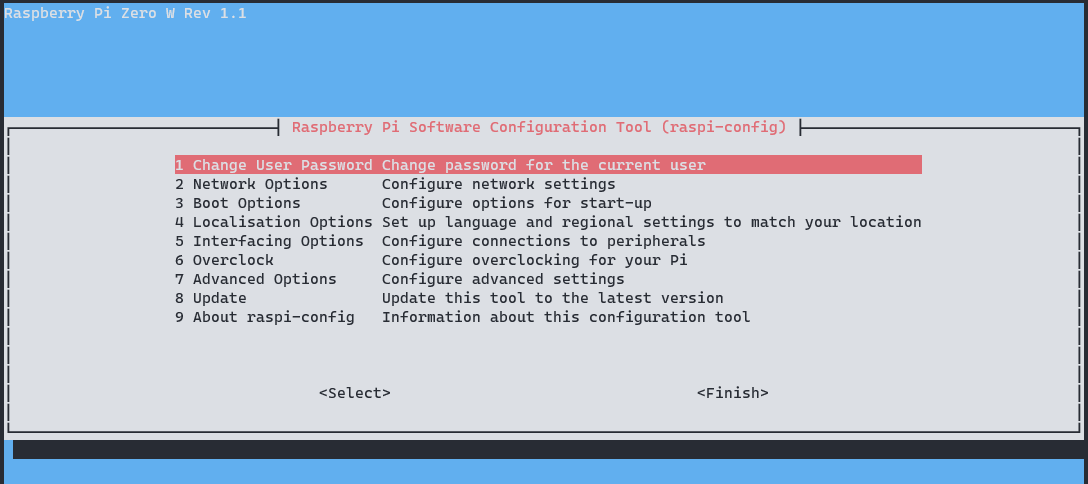
Change hostname
Under sudo raspi-config, choose Network Options, then Hostname. Set the name to something distinctive from other Raspberry Pis.
After renaming you will be prompted to reboot.
Increase swap space
Open up the swap configuration file
sudo nano /etc/dphys-swapfile
Change the CONF_SWAPSIZE value from 100 to something larger, like 2048, then save and exit. Restart the swap service.
sudo /etc/init.d/dphys-swapfile stop
sudo /etc/init.d/dphys-swapfile start
Verify the new swap space using free -m